Drywall installation, repairs, and finishing are essential elements of any residential renovation project. Whether you’re tackling a small bathroom makeover or a large-scale home remodel, understanding the ins and outs of drywall work is crucial for achieving a high-quality, seamless end result. We’ll walk through the process of preparing for drywall installation, what to expect during the installation and repair phases, and finishing techniques to give your renovated space a polished look.
Preparation:
Before diving into the actual drywall work, it’s vital to prepare both yourself and your workspace. Here are some essential steps to take:
- Protect Your Space: Begin by covering floors and furniture with drop cloths or plastic sheeting to safeguard against dust and debris generated during the installation process.
- Plan Your Layout: Carefully plan out the layout of your walls, ensuring all electrical outlets, light switches, and plumbing fixtures are easily accessible for future repairs or upgrades.
- Gather Necessary Tools and Materials: A few key tools include a drywall saw, utility knife, screwdriver or drill, tape measure, square, and levels. Don’t forget essential materials like screws, drywall mud (or joint compound), sandpaper, and primer.
- Mark Your Walls: Mark the edges of your studs on the walls to ensure accurate placement of the drywall sheets during installation.
- Set Up a Work Station: Create a workstation with a bucket or tray for mixing joint compound, a table or bench for cutting drywall, and a clean area for finishing and sanding.
Drywall Installation:
The installation process involves hanging the drywall sheets on your prepared walls and securing them in place using screws or nails. Here’s an overview of what to expect:
- Hang Drywall Sheets: Begin by installing the first row at the ceiling line, ensuring a snug fit against the studs. Subsequent rows should be staggered, with each sheet overlapping the previous one.
- Check for Level: Regularly check that your drywall is level both horizontally and vertically using a level or square to ensure an even installation.
- Secure Drywall: Screw the drywall into the studs every 8-12 inches, depending on local building codes. Be sure not to overload any one stud with too many screws.
- Cut Drywall: Use a drywall saw or utility knife to make precise cuts when necessary for windows, doors, and irregularly shaped spaces.
- Install Corners: Install inside corners (where two walls meet) using specialized corner beads for a neat finish.
- Apply Joint Compound: Once all the drywall is up, apply joint compound to all seams and joints using a putty knife, ensuring a smooth coat that covers any gaps or imperfections. Allow the compound to dry before applying additional coats as needed.
Drywall Repairs:
During your renovation project, you may encounter damaged or imperfect sections of drywall that require repair. Here’s how to address common issues:
- Small Cracks: Use a putty knife and joint compound to fill cracks, allowing the compound to dry before sanding smooth.
- Large Holes: For larger holes (like those left by doorknobs or electrical boxes), cut out the damaged section and replace it with a patch. Apply joint compound and let it dry before sanding for a seamless finish.
- Water Damage: If water has caused significant damage to your drywall, remove the affected sections and replace them using mold-resistant drywall. Ensure proper ventilation and address any underlying moisture issues to prevent future damage.
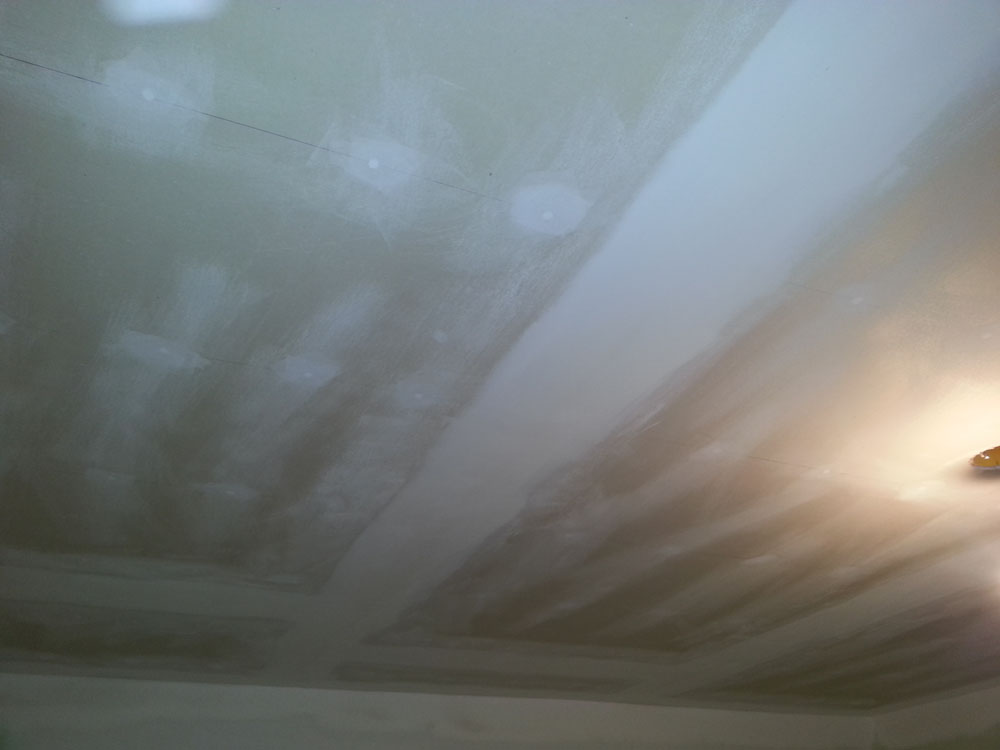
Finishing Drywall:
Once all repairs have been made, it’s time to finish your drywall for a smooth, polished appearance. This process includes applying additional coats of joint compound, sanding, and priming the walls before painting or applying wallpaper. Be prepared for multiple rounds of finishing work to ensure a flawless final product.
With proper preparation, attentiveness during installation, and meticulous finishing techniques, your residential renovation project will boast beautiful, professionally installed and repaired drywall that adds value and visual appeal to your home.