Installing grab bars is an essential part of creating a safe and accessible bathroom for individuals with mobility impairments or those who require additional support while bathing. Here’s a step-by-step guide on how to install grab bars, including recommended locations based on the Americans with Disabilities Act (ADA) guidelines:
Before You Start:
- Consult local building codes and regulations regarding grab bar installation.
- Ensure you have a suitable location for the grab bar(s), taking into account the user’s needs and preferences.
Step 1: Choose the Right Type of Grab Bar
There are two main types of grab bars:
- Fixed grab bars: These are mounted to the wall or ceiling and do not move.
- Adjustable grab bars: These have adjustable arms that can be extended or retracted for different users or situations.
Step 2: Determine the Location(s)
Based on ADA guidelines, you should install grab bars in locations that provide support and stability. The following areas are recommended:
- Toilet area: Install a fixed grab bar at a height of 33-36 inches (84-91 cm) above the floor, centered between the toilet seat and the wall.
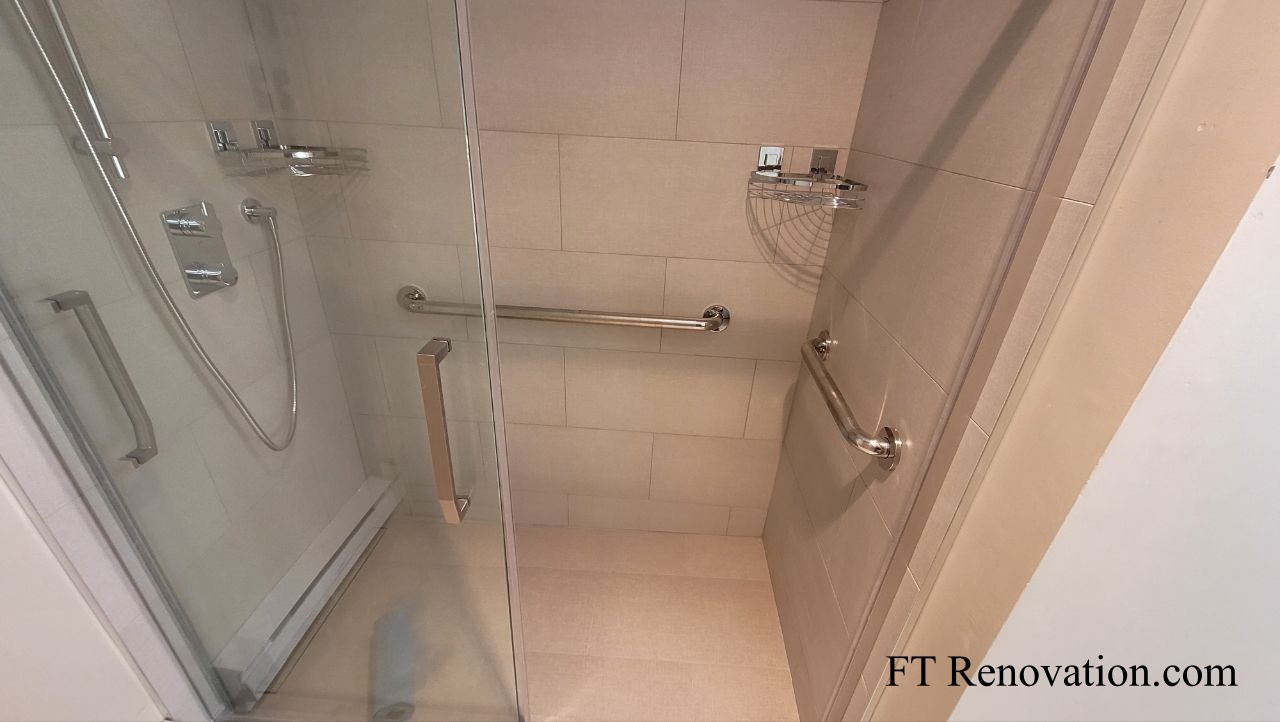
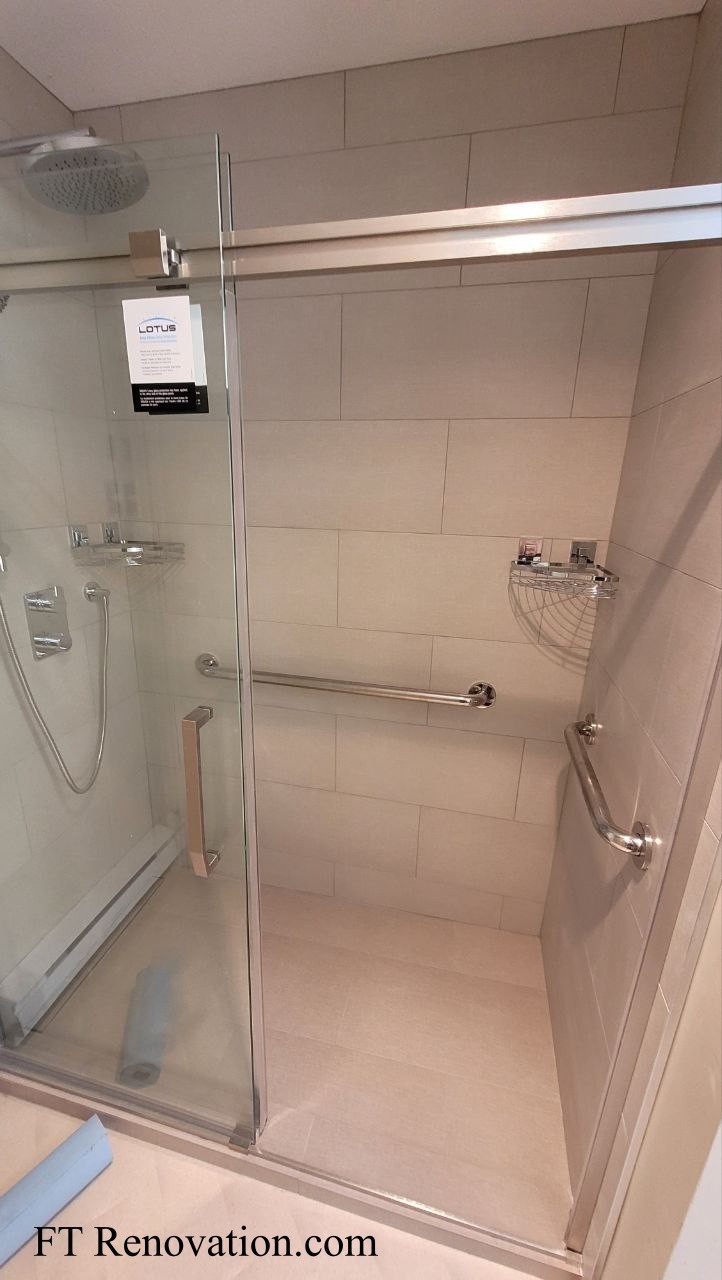
- Shower or bathtub area:
- Install two fixed grab bars:
- One at a height of 32-38 inches (81-97 cm) above the floor, near the shower or bathtub entrance.
- Another at a height of 33-36 inches (84-91 cm) above the floor, near the shower or bathtub wall.
- Install two fixed grab bars:
- Bathtub area only: If you don’t have a shower, install a fixed grab bar along the bathtub edge at a height of 32-38 inches (81-97 cm) above the floor.
Step 3: Measure and Mark the Wall
Measure the area where you’ll be installing the grab bar(s). Use a level to ensure the surface is even. Mark the wall with a pencil or marker, indicating the desired location for the grab bar.
Step 4: Install the Grab Bar
- Fixed grab bars: Use a stud finder to locate the wall studs. Drill pilot holes into the studs and install the grab bar using wall anchors (e.g., plastic or metal). Make sure the grab bar is level and securely fastened.
- Adjustable grab bars: Follow the manufacturer’s instructions for installation.
Additional Tips:
- Ensure a secure hold: The grab bar should have a firm grip, without any loose connections or wobbling.
- Choose the right material: Select a durable, rust-resistant material (e.g., stainless steel, aluminum, or fiberglass) that can withstand moisture and regular use.
- Install with ease of access in mind: Position grab bars to allow for easy transfer from a wheelchair or walker into the bathroom area.
ADA Recommendations:
- The minimum diameter of grab bars should be 1.25 inches (3.2 cm).
- Grab bars should have a textured surface for better grip.
- Install grab bars in locations where they will be most useful, such as near toilet or shower areas.
Remember to consult local building codes and regulations regarding grab bar installation, as specific requirements may vary.
Leave a Reply